Getting Started with Windows 10/11
- Plug the Smart Sensor (e.g. 333D01, 333D04, 485B39 etc.) into a USB port on your PC.
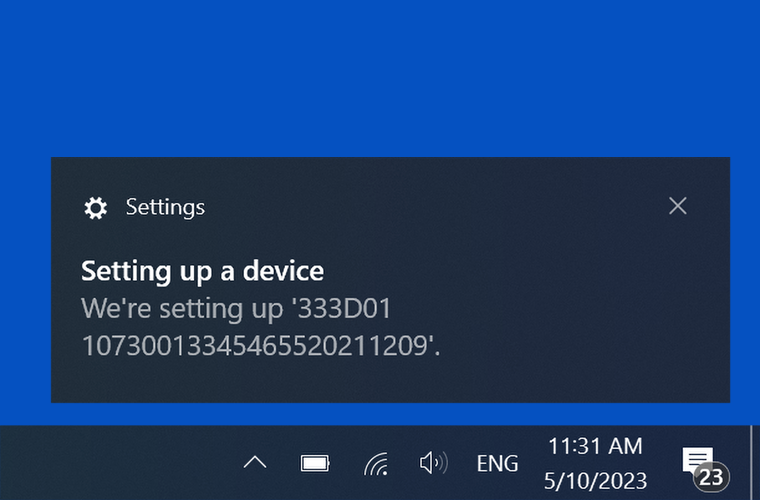
- Windows should automatically detect and set up the device. A notification will populate in the lower right-hand corner. Sometimes the notification will not populate, don’t worry. The device will still be set up automatically.
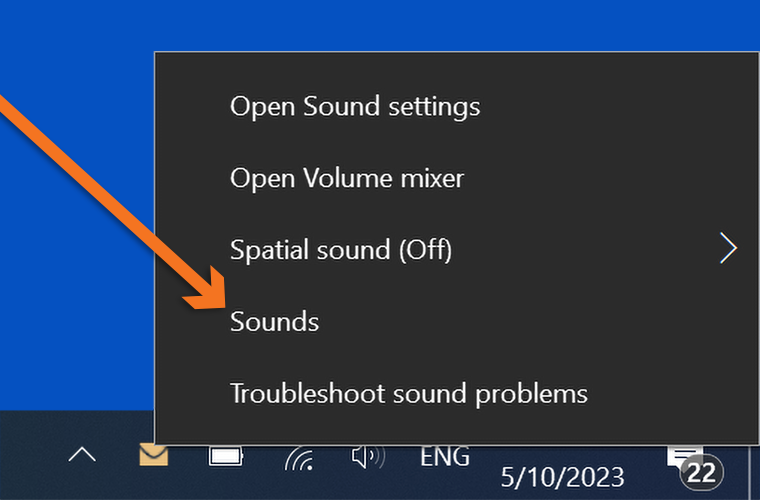
- Right-click on the speaker icon in the notification tray
![]()
- Select “Sounds” from the menu
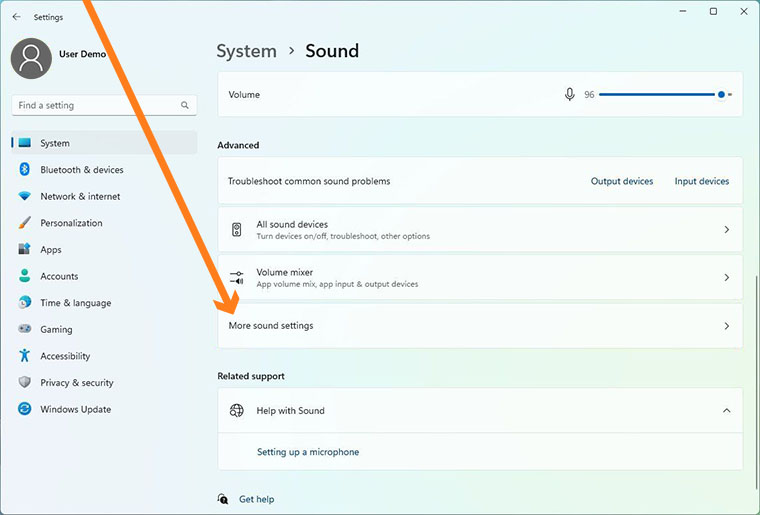
- Right-click on the volume icon in the system tray.
- Select "Sound settings"
- Scroll down and select "More sound settings"
Another way to access the sound setting in Windows 10/11 is to simply type/run the mmsys.cpl command.
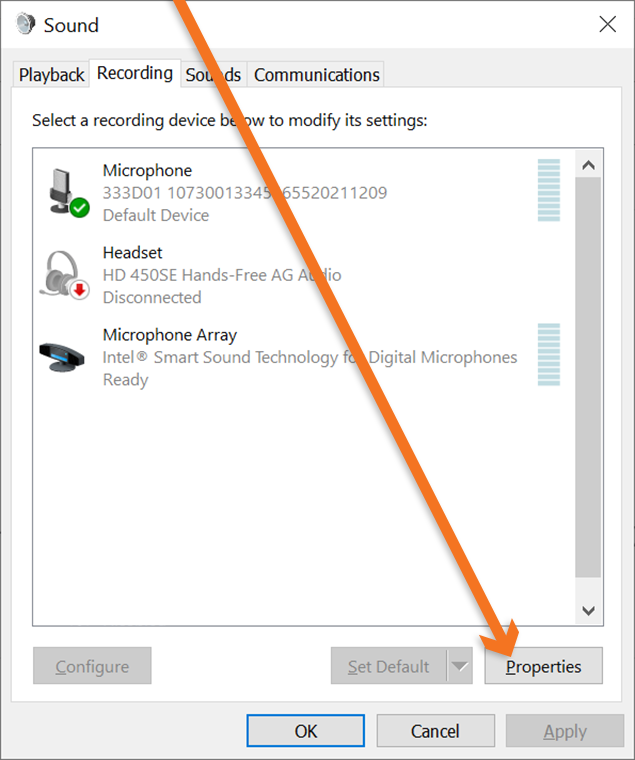
- Clicking on the “Recording” tab will show a list of available recording devices. There will be a new “Microphone” there labeled “333D01 1XXXXXXXXXXXXXXXXXXXXX” where X will be numbers specific to your sensor
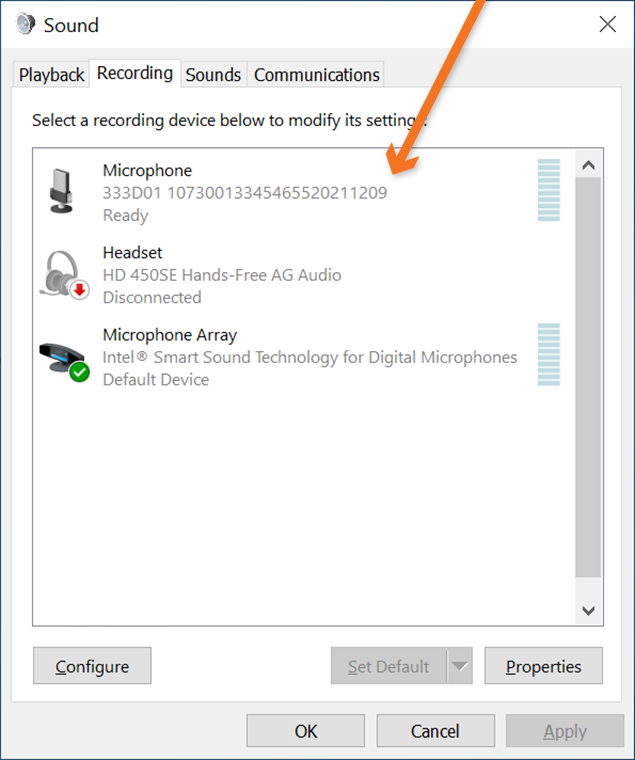
- Click the device in the Sound Menu, which will highlight it. Then click the “Set Default” button near the bottom to set the sensor as the default recording device so that it will remain active. There should be a green check mark next to the name of the "Microphone". (You can tap the sensor at this point and there should be activity in the amplitude meter.)
- Next, click the “Properties” button next to the “Set Default” button.
- Select the “Advanced” tab under Microphone Properties
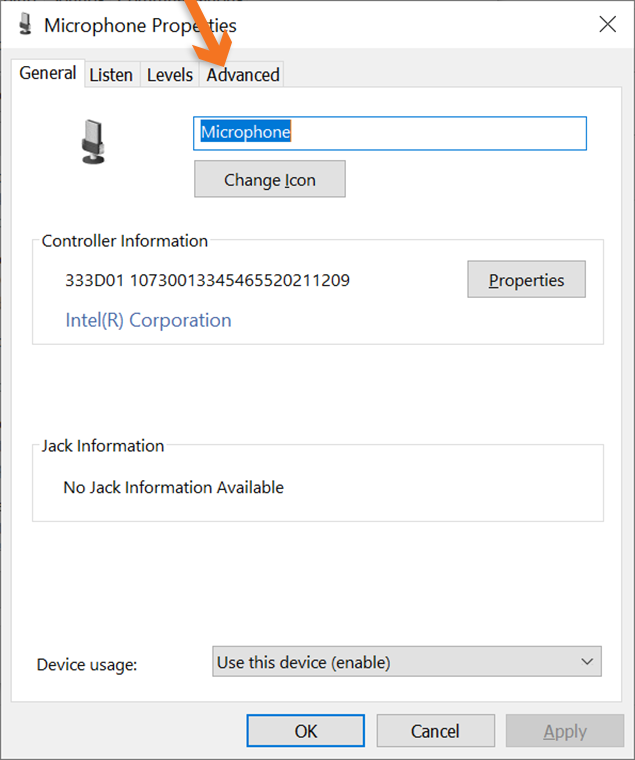
- Select a sample rate of 48,000 Hz and 24 bit (Studio Quality)

- Save these settings by clicking the “OK” button until the windows are all closed.
- Use the application of your choice to measure the sensor’s input. For a list of applications visit our Software page.
*For more information on how to attach the sensor to your test object, an overview of mounting techniques can be found here.
Getting Started with iOS
Things you will need:
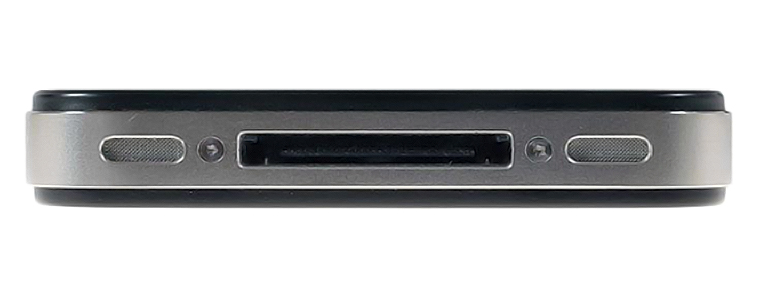
1. One of the following cables from Apple, depending on your device.
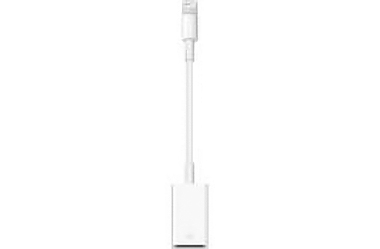
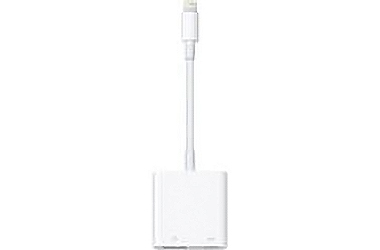
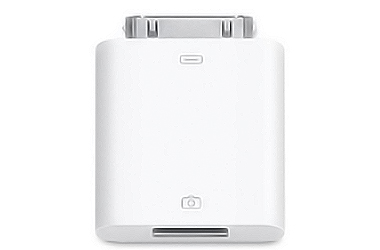
| Lightning to USB Camera Adaptor | 30-pin to USB Adaptor | |
|---|---|---|
(MD821AM/A)
| (MK0W2)
| Currently discontinued from Apple.
|
 |  | |
2. An application that allows the recording of vibration or sound.
A compiled list of applications can be found on our Software page.
Getting Started:
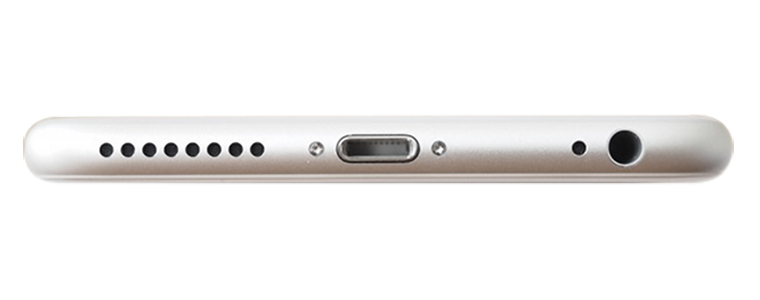
1. Using the appropriate adaptor, plug it into your device.
2. Connect the 333D01 ICPD USB Accelerometer into the Type A Female USB port.
3. Open any app that allows the recording of vibration or sound.
4. Start recording data.
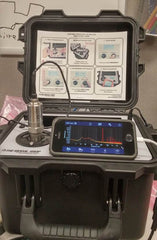
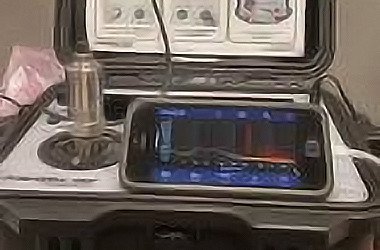
iPhone connected to TMS Portable Vibration Calibrator using
Faber Acoustics' SignalScope Pro for iOS
Getting Started with Android
Things you will need:
- An application that allows the recording of vibration or sound.In order to get you started we have compiled a list of applications on our Software page.
- One of the following cables depending on your device:
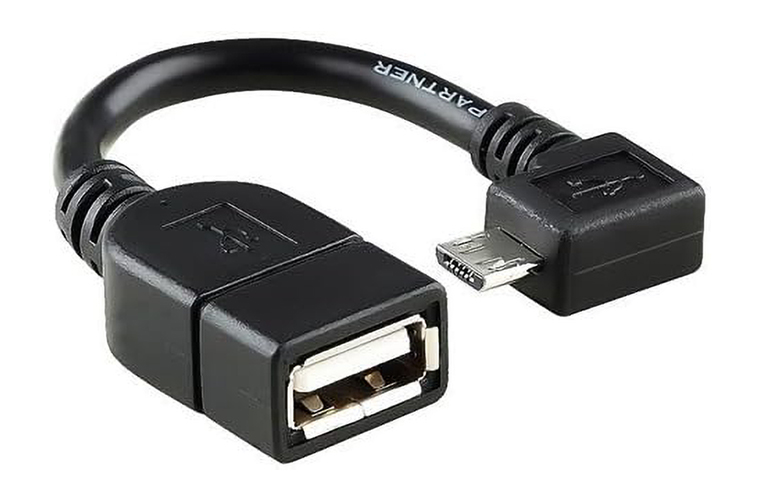
USB 2.0 Micro USB Male to Type A Female On-The-Go (OTG) Cable
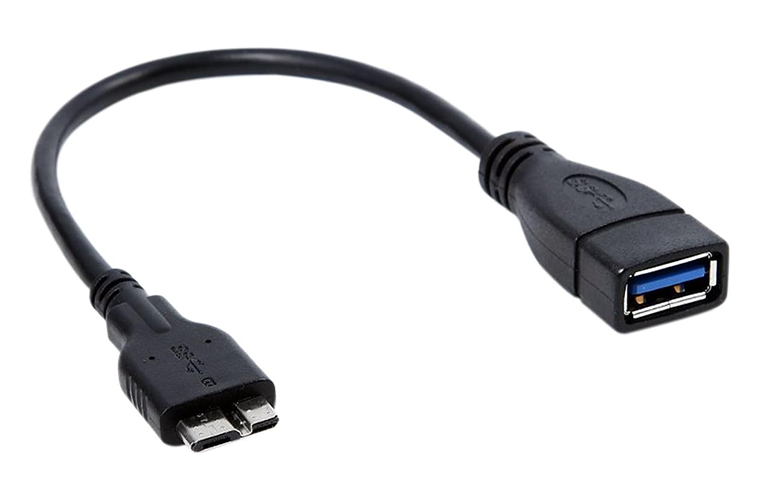
USB 3.0 Micro USB Male to Type A Female On-The-Go (OTG) Cable
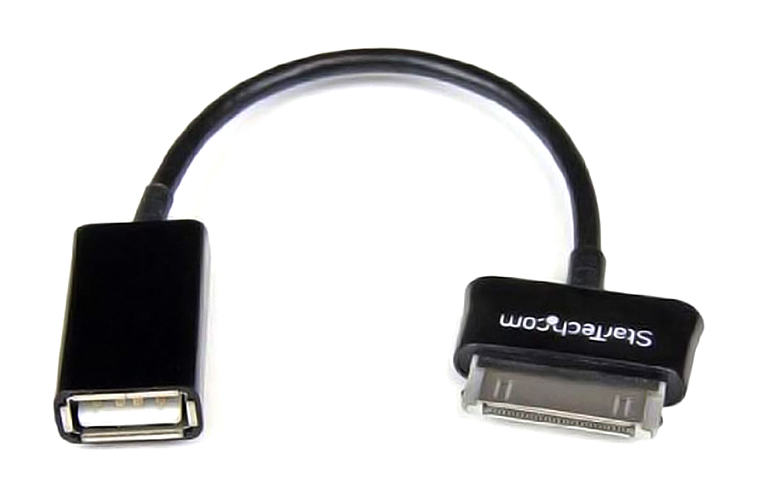
USB 30-pin Male to Type A Female On-The-Go (OTG) Cable
Getting Started:
- Using the appropriate adaptor, plug it into your device.
- Connect the 333D01 ICPD USB Accelerometer into the Type A Female USB port.
- Open any app that allows the recording of vibration or sound. A list of apps have been provided for your convenience on our Software page.
- Start recording data.
*For more information on how to attach the sensor to your test object, an overview of mounting techniques can be found here.
Getting Started with Mac OS X
- Plug the 333D01 Smart Sensor into a USB port on you Mac.
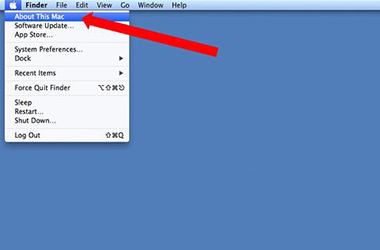
- Click on the Apple symbol in the navigation bar on the left

- Select "About This Mac" from the drop-down menu
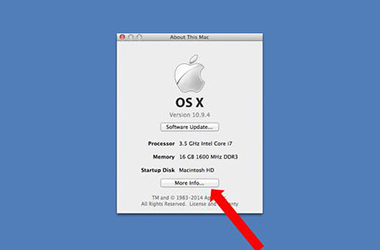
- The "About This Mac" menu will pop up after being selected. Click the "More Info..." button which will give you more details about your computer
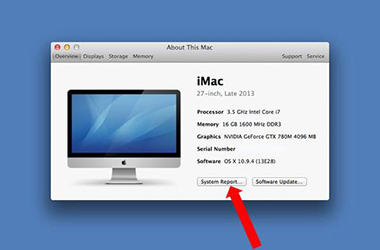
- From this more extensive "About This Mac" menu, choose the "System Report..." button
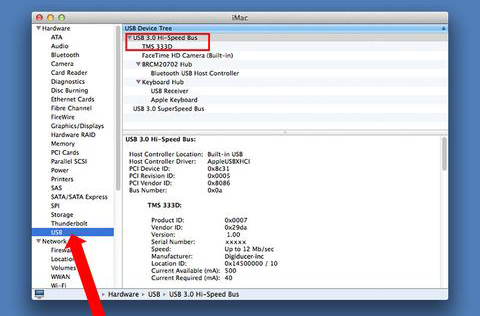
- On this menu, find USB under the "Hardware" list, and select it. On the right in the main window under "USB Device Tree" you should see your sensor
- Use the application of your choice to measure the sensor’s input. For a list of applications visit our Software page.
*For more information on how to attach the sensor to your test object, an overview of mounting techniques can be found here.